Unsafe wheel play, vibration, and humming sounds can all be signs of a deteriorating wheel bearing. Ignoring it may eventually result in wheel damage or losing control while driving.
Replacing a wheel bearing guarantees that your car will continue to be steady and safe while driving by restoring smooth wheel rotation.
However, the procedure may differ based on the design of your car. While some cars employ press-in wheel bearings that call for specific tools, others use bolt-on hub assemblies.
Key Points to Review
In this guide, we’ll walk through:
- When a wheel bearing replacement is necessary
- Whether you should attempt a DIY repair or hire a professional
- A step-by-step process for replacing a wheel bearing
- Common mistakes to avoid during installation
By the time it’s over, you’ll know how to replace a wheel bearing safely.
DIY vs Professional Repair
For skilled mechanics, replacing a wheel bearing can be a doable DIY repair, but it’s not always an easy task.
Replacement is frequently simple for cars with bolt-on hub assemblies. Common hand tools can usually be used to remove and replace the hub.
However, extra tools like a hydraulic press or a bearing remover kit are needed for cars with push-in wheel bearings. To properly push the bearing out and install the new one, it is frequently necessary to remove the steering knuckle.
According to our expertise helping both professional technicians and do-it-yourself installs, seized components, rust accumulation, or incorrect tool use are typically the major obstacles.
A professional repair business can be the quicker and safer choice if you don’t have access to a press or specialized tools.
Tools and Supplies Needed
Assemble the required equipment and supplies before beginning the repair.
Common tools include:
- Hydraulic jack
- Jack stands
- Socket set and breaker bar
- Torque wrench
- Penetrating oil
- Slide hammer or bearing puller (if needed)
- Hydraulic press (for press-in bearings)
Along with any new hardware that the manufacturer recommends, you will also need the replacement wheel bearing or hub assembly.
Particularly useful for releasing seized hub assemblies or rusty bolts is penetrating oil.
Step-by-Step Replacement Process
Step 1: Lift and Secure the Vehicle
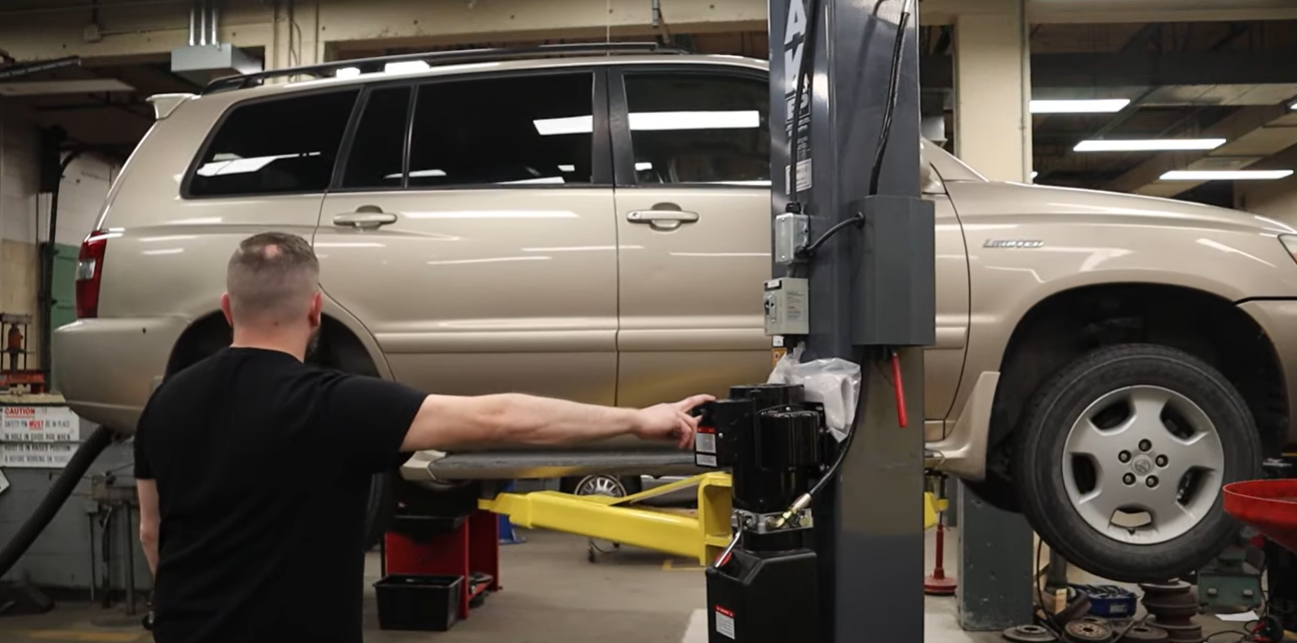
Apply the parking brake after parking on a flat surface.
Then:
- Loosen the lug nuts slightly
- Lift the vehicle with a jack
- Secure it using jack stands
When operating beneath a car, never depend only on a jack.
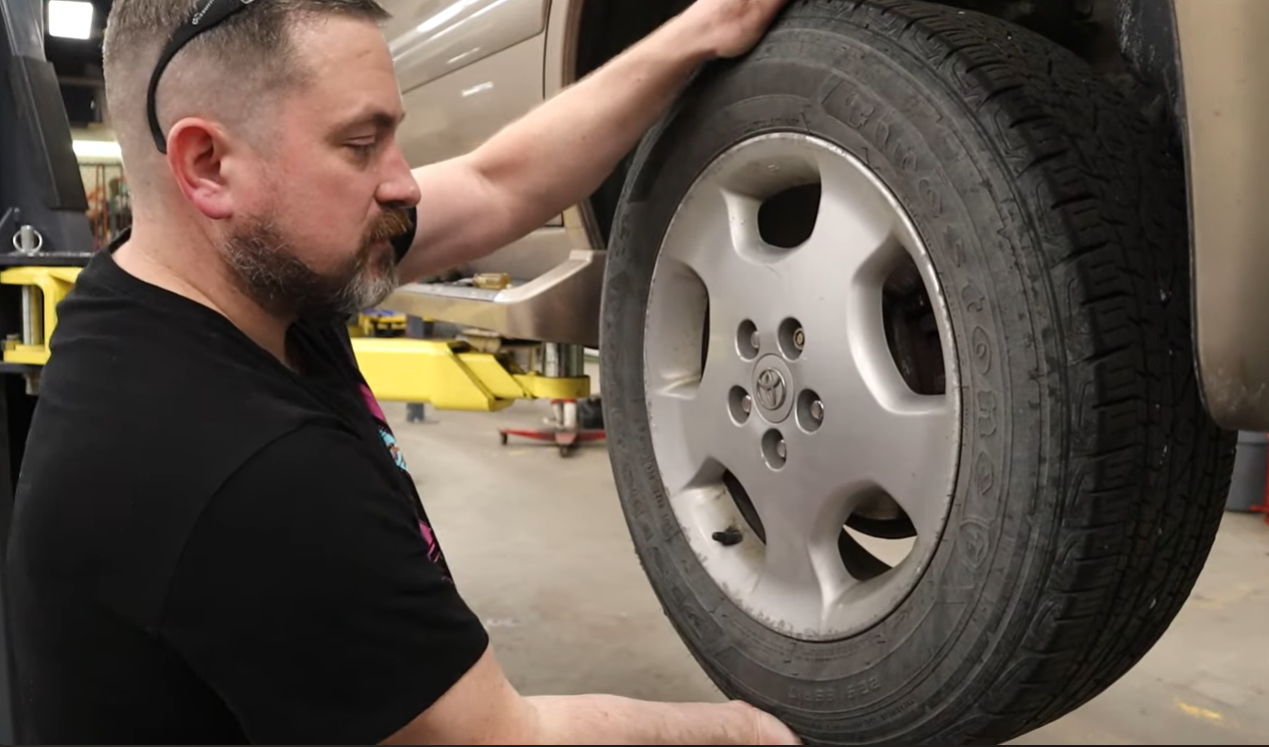
Step 2: Remove the Wheel
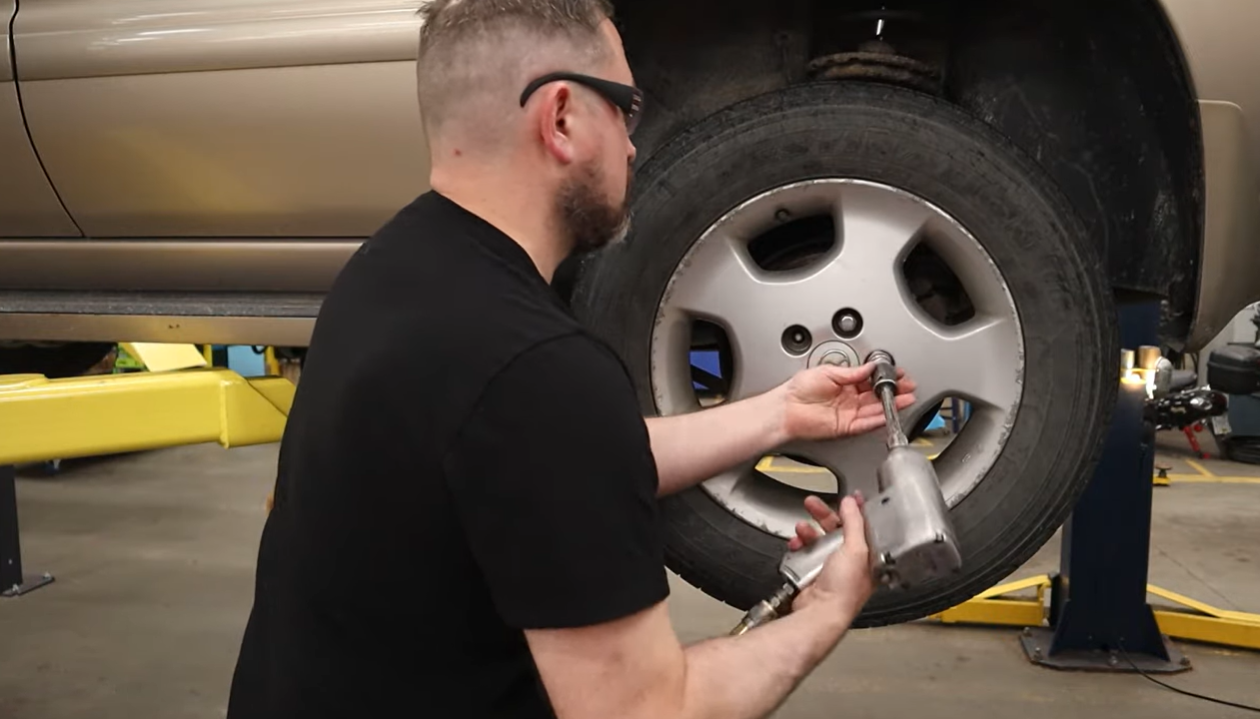
Once the lug nuts are completely removed, remove the wheel.
This makes the hub assembly and brake parts visible.
Step 3: Remove the Brake Caliper and Rotor
Next, remove the braking components:
- Unbolt the brake caliper
- Secure the caliper so it does not hang from the brake hose
- Remove the caliper bracket
- Slide the brake rotor off the hub
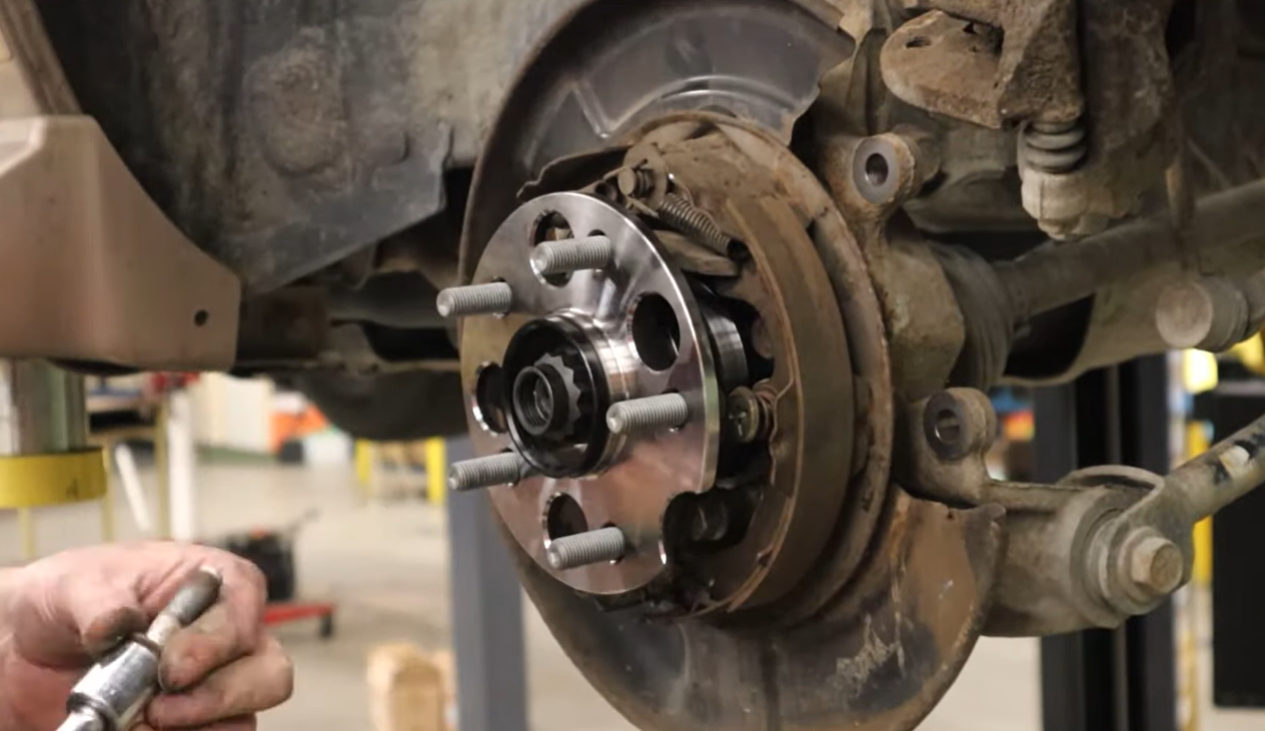
The wheel hub and bearing assembly are fully accessible as a result.
Step 4: Remove the Hub or Press Out the Bearing
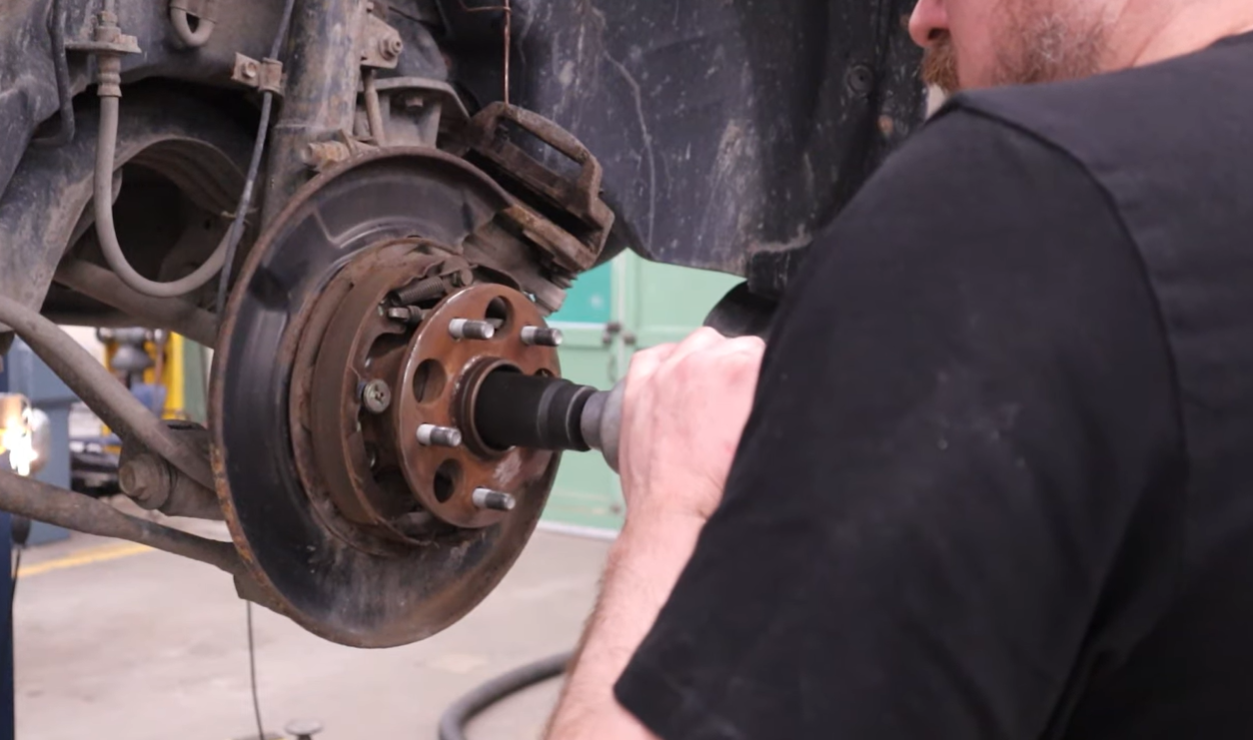
The procedure now varies based on the design of your car.
For bolt-on hub assemblies:
- Remove the axle nut
- Remove the hub mounting bolts behind the steering knuckle
- Pull the hub assembly free (a slide hammer might help)
For press-in bearings:
- Remove the steering knuckle if required
- Use a hydraulic press or bearing puller to extract the bearing
- Remove any retaining snap rings before pressing
Sometimes you could remove the bearing without the need of a press.
Step 5: Install the New Bearing
Install the replacement unit carefully.
For hub assemblies:
- Slide the new hub into place
- Reinstall the mounting bolts
For press-in bearings:
- Press the new bearing squarely into the knuckle
- Install the snap ring if required
- Press the hub into the new bearing
In order to avoid premature failure, proper alignment during installation is essential.
Step 6: Reassemble and Torque Components Properly
Reinstall all removed components:
- Axle nut
- Brake rotor
- Brake caliper bracket
- Brake caliper
- Wheel
Bolts, particularly the lug and axle nuts, should always be tightened to the torque specified by the manufacturer.
One of the most frequent reasons for early bearing failure is improper torque.
Common Mistakes to Avoid
It takes accuracy to replace a wheel bearing. Premature failure can result from a number of frequent blunders. A pattern we’ve seen across many wheel hub and bearing repairs is that repeat failures are rarely caused by the bearing itself but by small installation errors during removal or reassembly.
Damaging the ABS Sensor
ABS sensors are often built into contemporary wheel hubs.
The wire or sensor housing may be harmed by careless removal or incorrect tool use.
Improper Torque
Excessive load on the bearing might result from over-torquing or under-torquing fasteners, especially the axle nut.
Use a torque wrench at all times.
Reusing Worn Snap Rings
Retaining snap rings are frequently used in press-in bearings. During installation, these should be changed if they are corroded or broken.
How Long Does It Take?
The time required to replace a wheel bearing depends on the vehicle design.
Typical estimates are:
Hub assembly replacement:
1–2 hours
Press-in bearing replacement:
2–4 hours
However, several factors can affect repair time, including:
- Vehicle make and model
- Rust or corrosion levels
- AWD vs FWD drivetrain design
- Tool availability
- Mechanic experience level
The time needed for removal can be greatly increased by severely seized components.
FAQs
Do I need an alignment after replacing a wheel bearing?
Wheel alignment is typically not necessary when replacing a wheel bearing. However, an alignment might be advised if the steering knuckle or suspension parts were removed during the repair.
Can I replace just one wheel bearing or should I replace both?
Since wheel bearings frequently fail on their own, it is usually acceptable to replace just the defective bearing. On the other hand, replacing both bearings on the same axle simultaneously could save time and effort in the future if they both exhibit wear.
What torque specs should I use when reinstalling the axle nut?
The torque requirements for axle nuts differ depending on the type and manufacturer of the car. For the precise torque value, always refer to the vehicle’s service manual. Due to the axle nut’s single-use nature, many vehicles also need to have it replaced during installation.
What happens if I don’t torque the wheel bearing correctly?
Excessive bearing preload or looseness might result from improper torque. This could result in wheel play, vibration, or early bearing failure that compromises vehicle safety.